1.
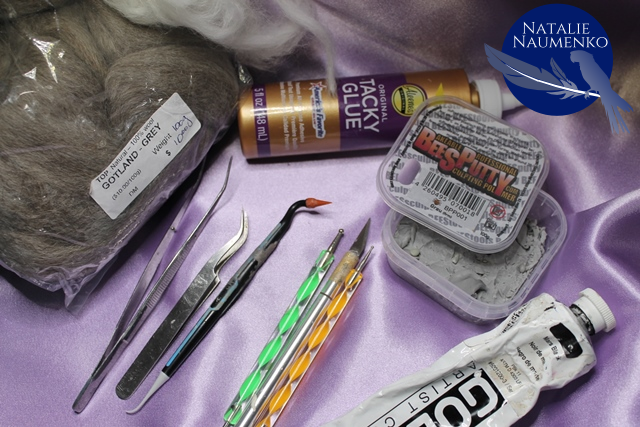
I started by creating a base of squirrel with polymer clay and wire. My polymer clay is BeeSputty (gray color).
3.
Adding eyes and tiny arms and hands. Since I didn't have right size of black beads to create squirrel's eyes I used tiny balls of black polymer clay (I used black Premol Sculpey clay for that).
4.
Adding muzzle (I used small pieces of white color BeeSputty clay).
5.
Adding eyebrows and ears.
6.
Adding legs and feet. At this point sculpture is ready to be baked, so I baked it in the oven until cured.
7.
Since I used gray color polymer clay I didn't have to paint squirrel too much - I just painted inside of her ears, squirrel's belly, feet and hands using acrylic paints. Now my squirrel is ready to be furred.
8.
Applying gray color top wool and white alpaca on squirrel's body and arms layer by layer with tweezers and glue ( I use Aleene's Tacky Glue). After that I trimmed fiber with scissors.
9.
Applying and trimming fiber on face. Adding white fiber flocking on muzzle.
10.
Applying fibers on tail and trimming.
11.
I gave squirrel more trim + brush with acrylic paints for more realistic look.
Added whiskers using tiny fibers, tweezers and glue.
Added gloss to eyes.
I let squirrel sit for about an hour to make sure that glue is completely dry, then I gently brushed squirrel to get rid of loose fiber.
As a final touch I lightly sprayed squirrel with an artist spray to set fibers.
Now my squirrel is all done!


